 |
|
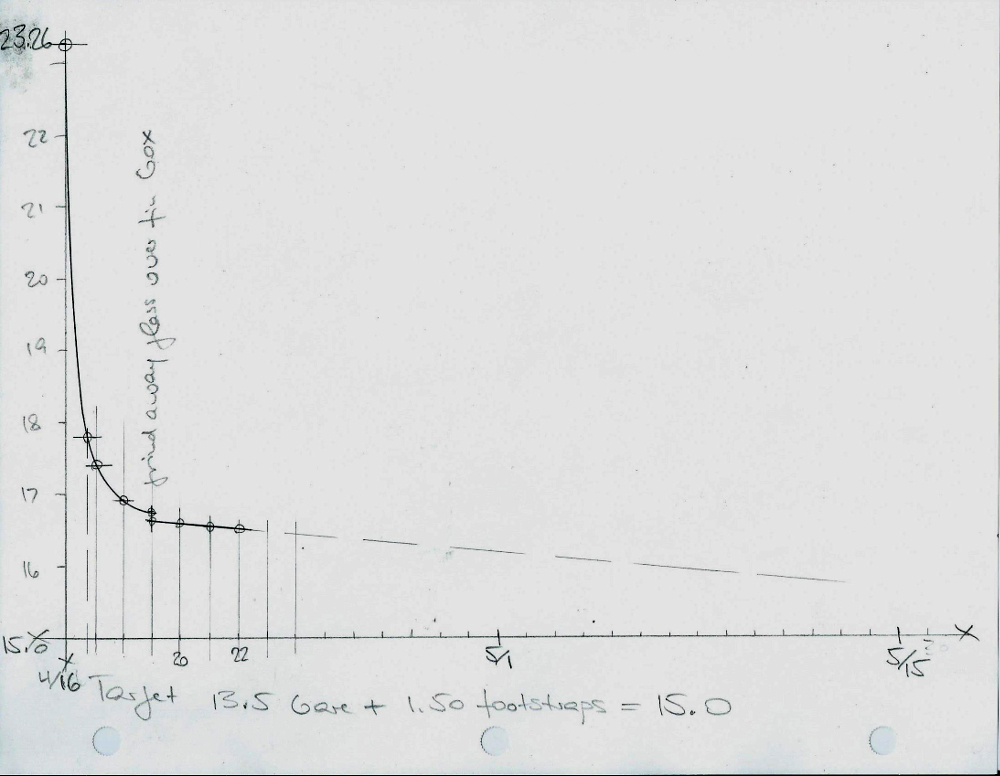
starting weight a whopping 23.26#, with
water sloshing about in the middle |
 |
|
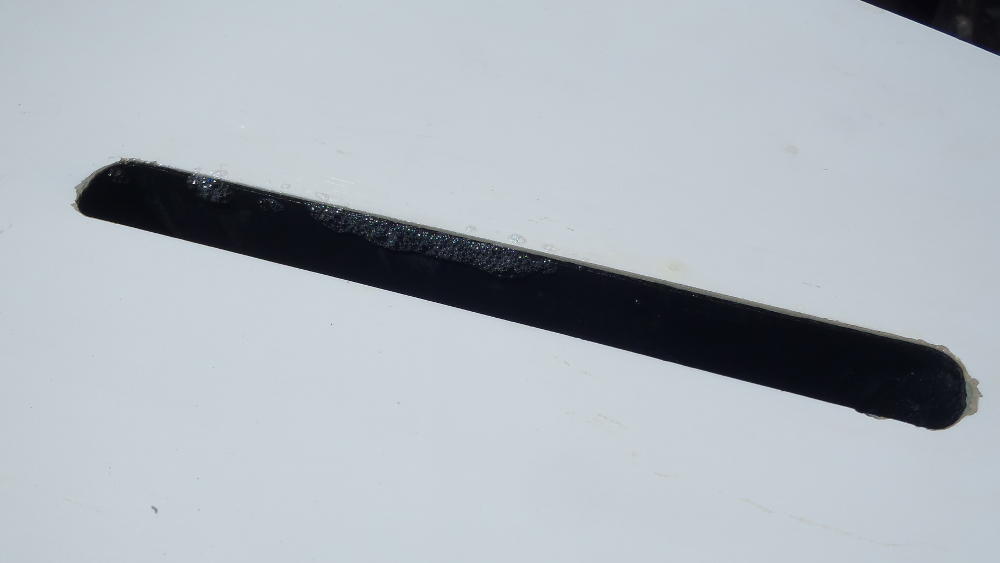
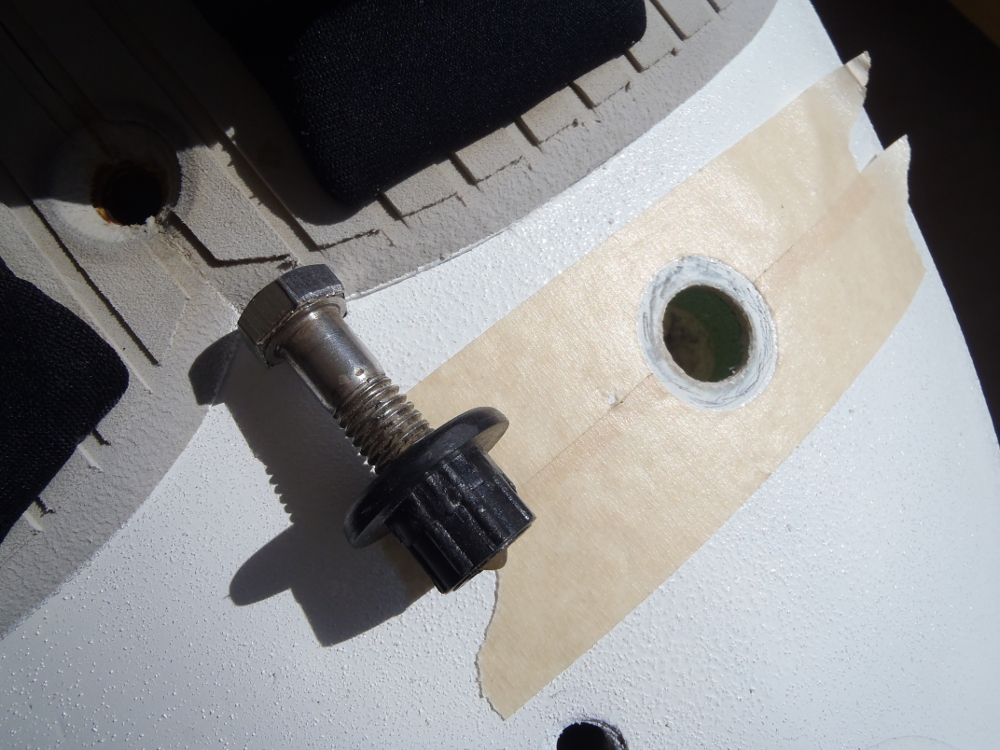
when pressurized, air bubbles from the interface between
fin box and bottom skin; Goretex vent is found punctured and leaking |
 |
|
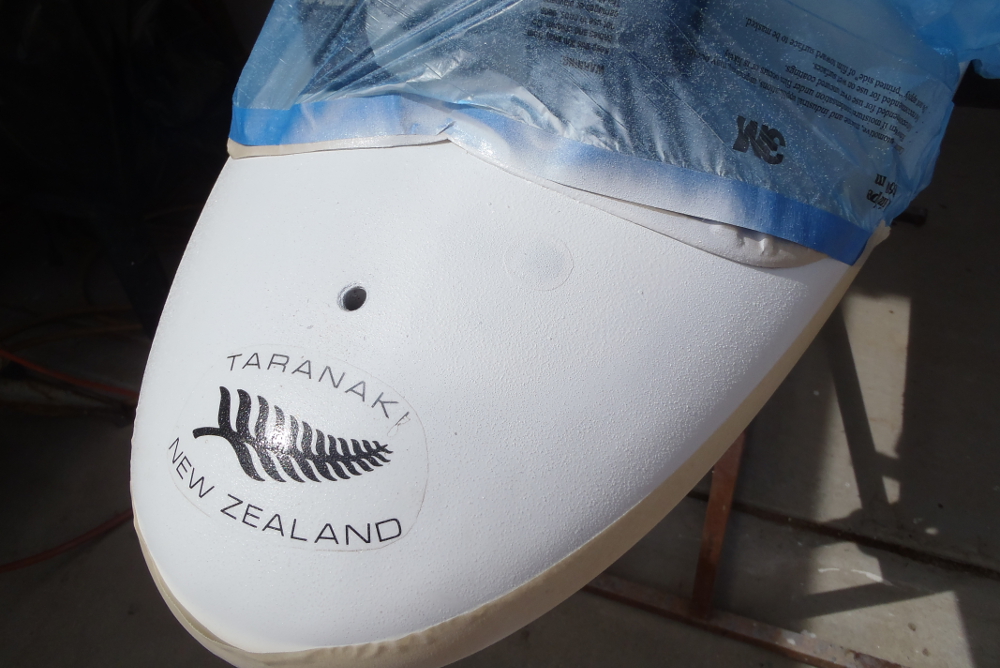
with fin screw holes taped off, the fin
box is filled with soapy water and the board again pressurized. Bubbles
emerge only from the fin box/bottom skin interface, not from the suspicious
router marks on the inside of the fin box |
 |
|
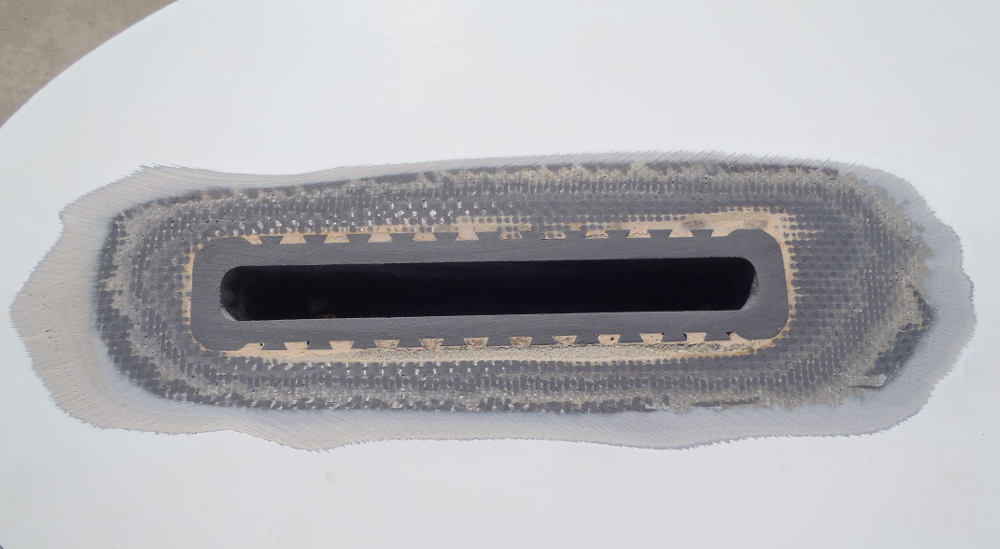
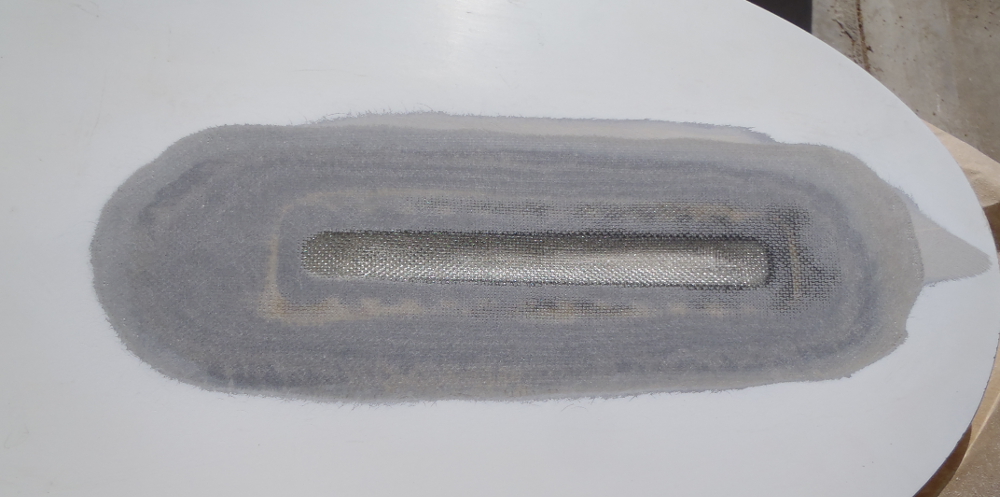
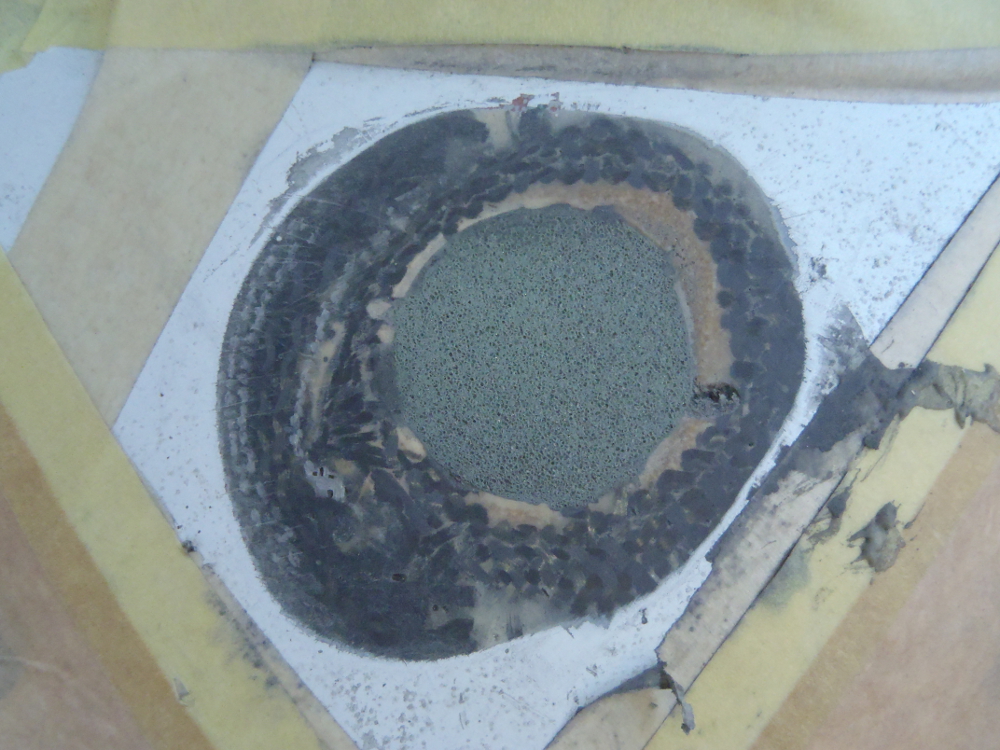
bottom skin ground off, ready for evacuation |
 |
|
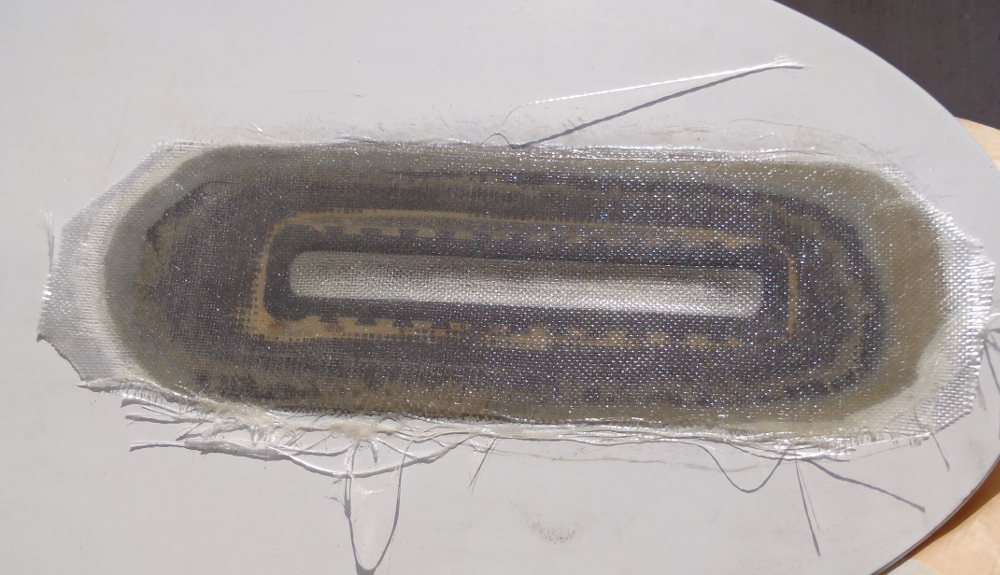
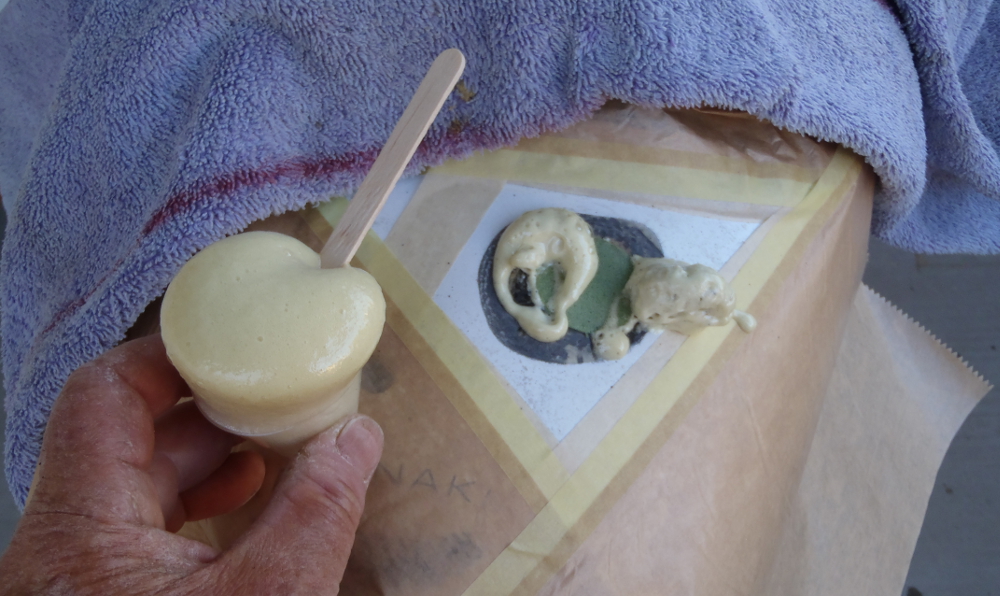
after extracting almost 7# of water,
the new bottom skin is laminated |
 |
|
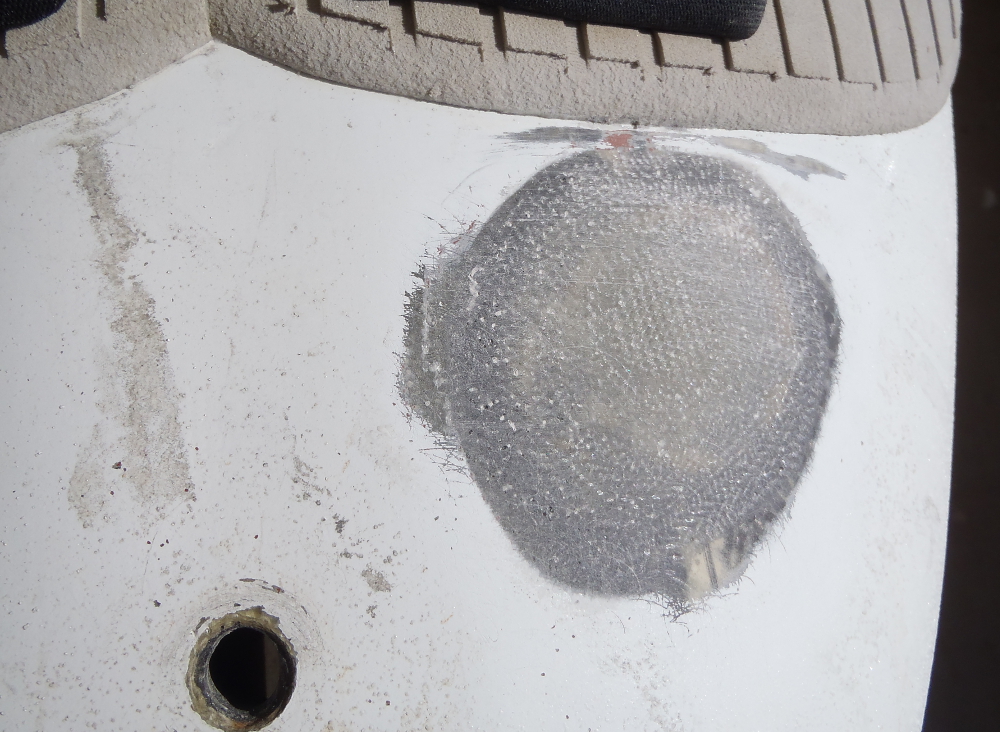
and ground flush |
 |
|
filler, then primer applied, ready for LP topcoat |
 |
|
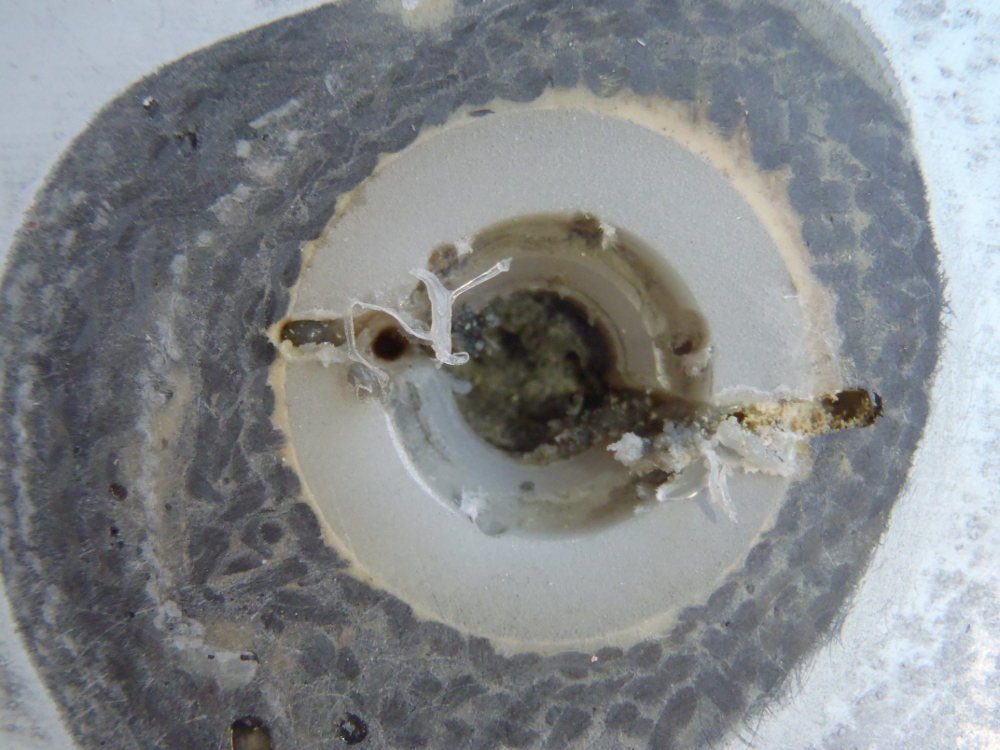
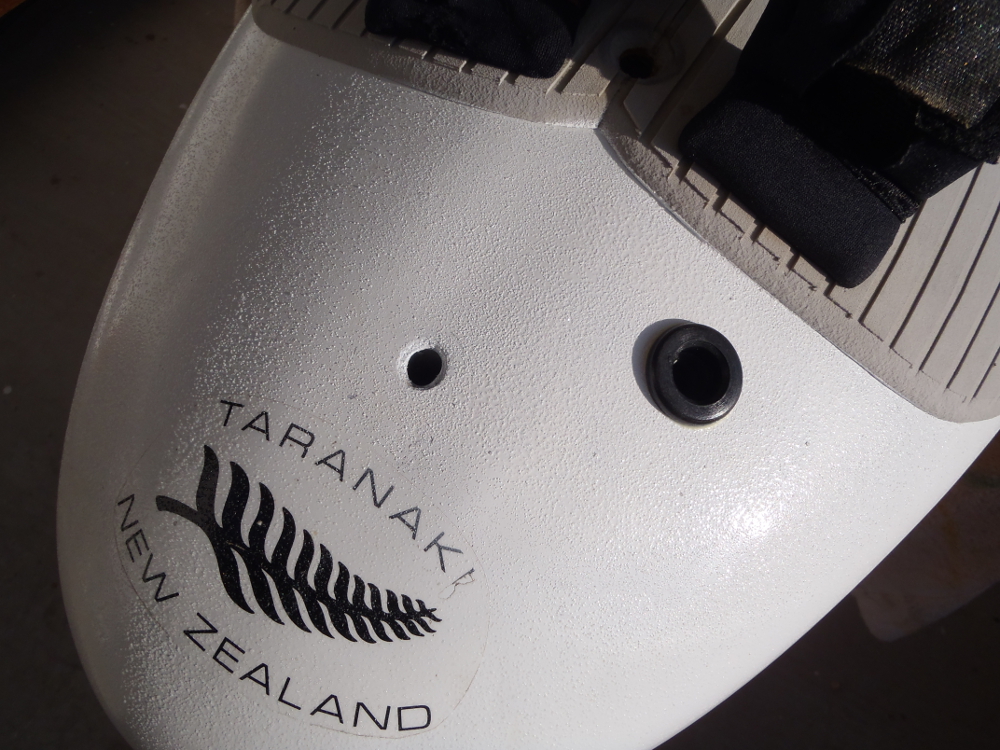
Goretex vent fixture cut in preparation for extraction |
 |
|
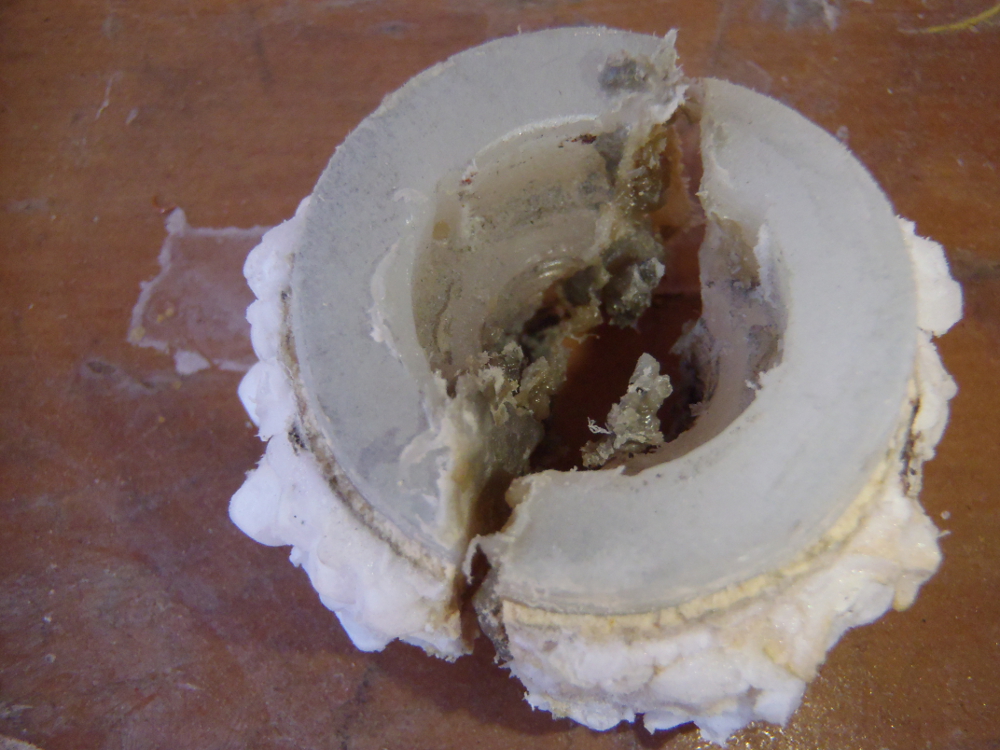
it comes out relatively clean |
 |
|
the substantial cavity is foamed out with 2-part
Urethane, with a 1/2" Divinycell "lid" to support a "proper" vent fixture |
 |
|
bevel-ground and ready for outer skin |
 |
|
glassed over, then ground flush |
 |
|
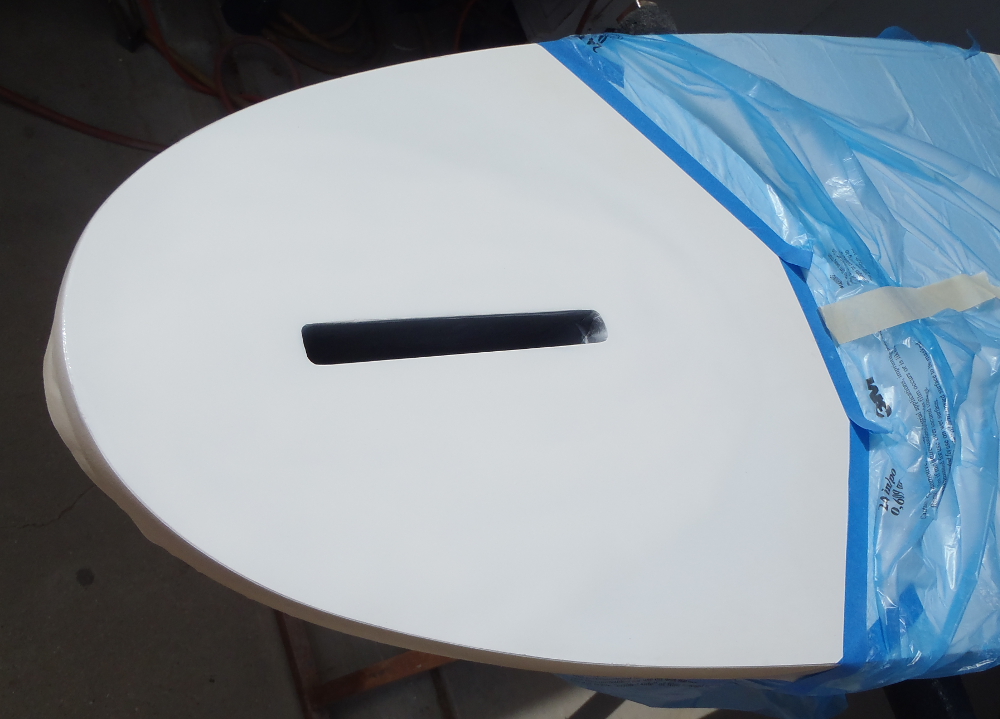
faired, primed, LP topcoat and non-skid DeckDust applied |
 |
|
new Chinook manual vent ready to go in |
 |
|
all done! |
|
Return to assorted repairs |