 |
|
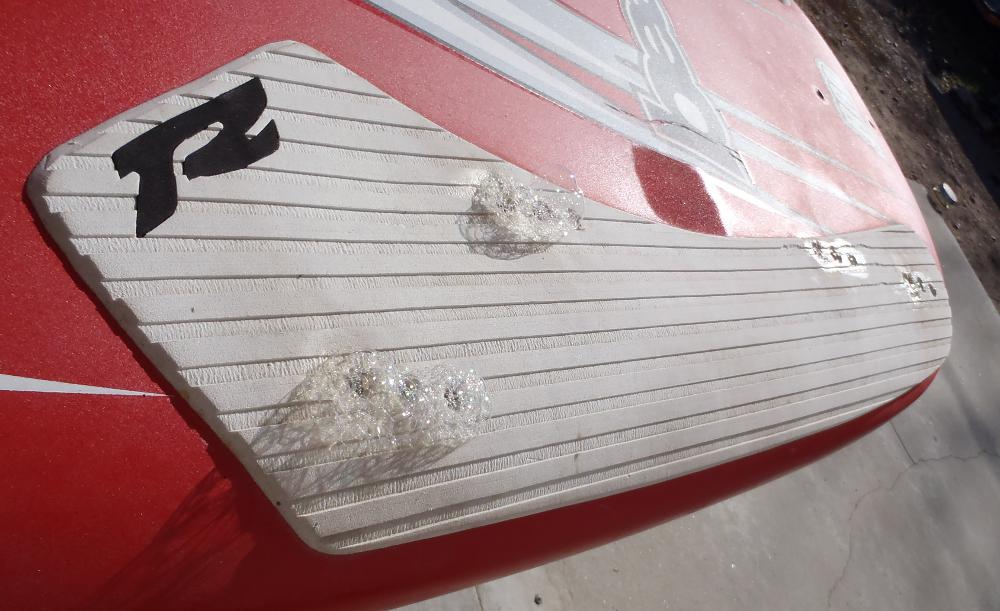
leaks at all forward foot strap inserts
|
 |
|
inserts dislodged in front |
 |
|
deck soft and compressed under forward
toes |
 |
|
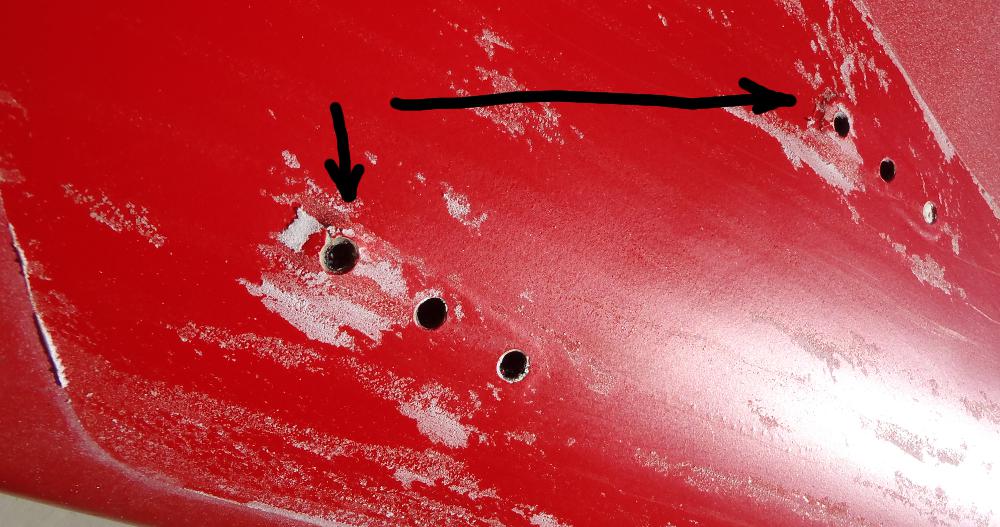
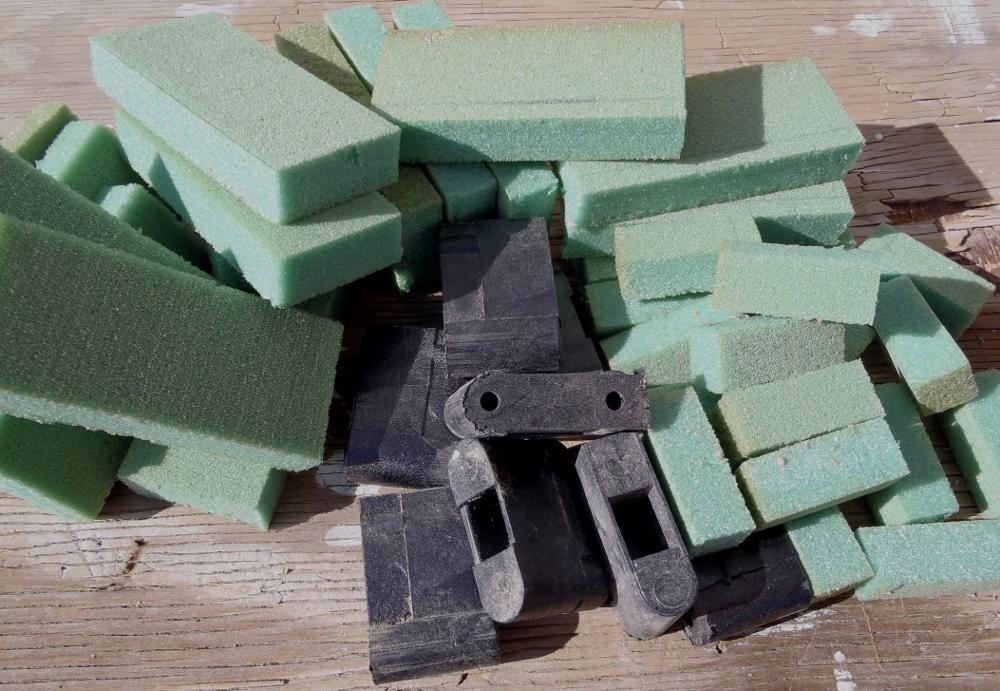
inserts come out fairly easily with a cork-screw - you
did not know a cork screw belonged in a board repair person's tool kit, did you? |
 |
|
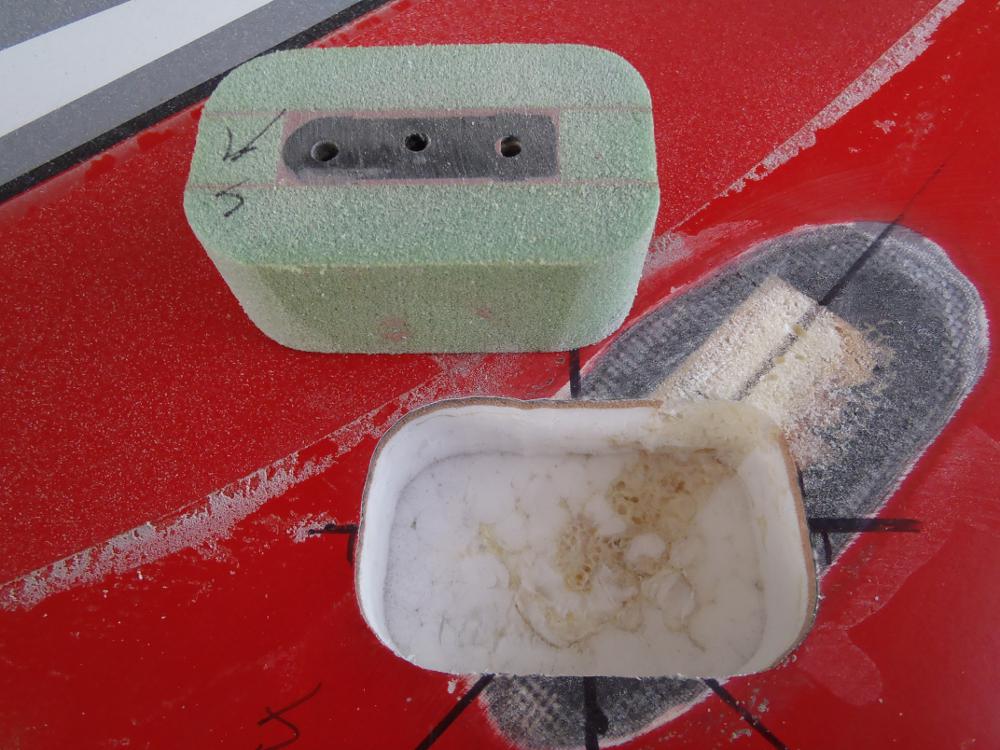
the fun begins - making up the new foot strap inserts,
properly set into Divinycell this time! |
 |
|
someone is a little anal about lining
things up nice and purdy - but its relatively harmless.... |
 |
|
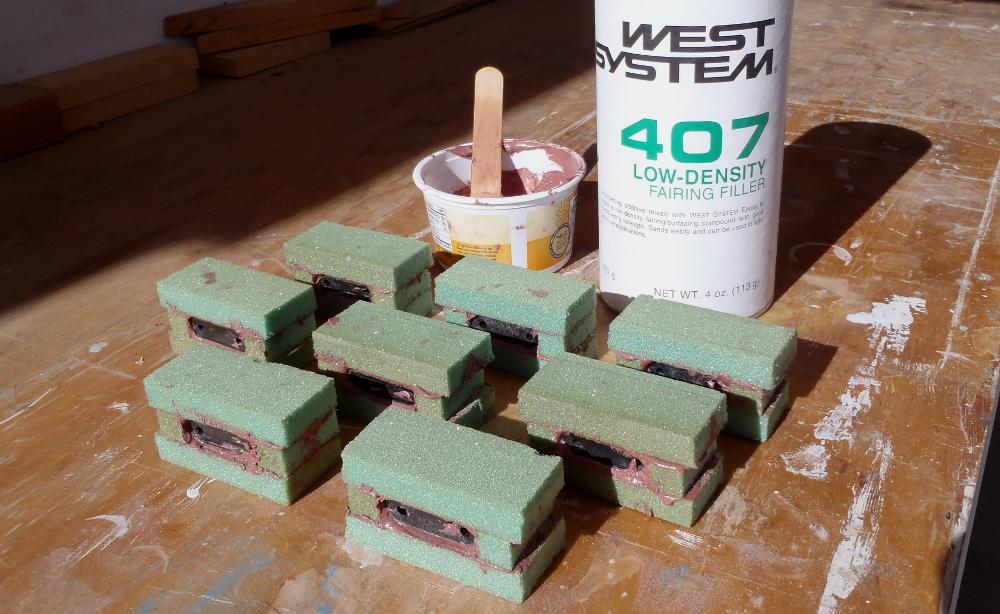
making insert sandwiches |
 |
|
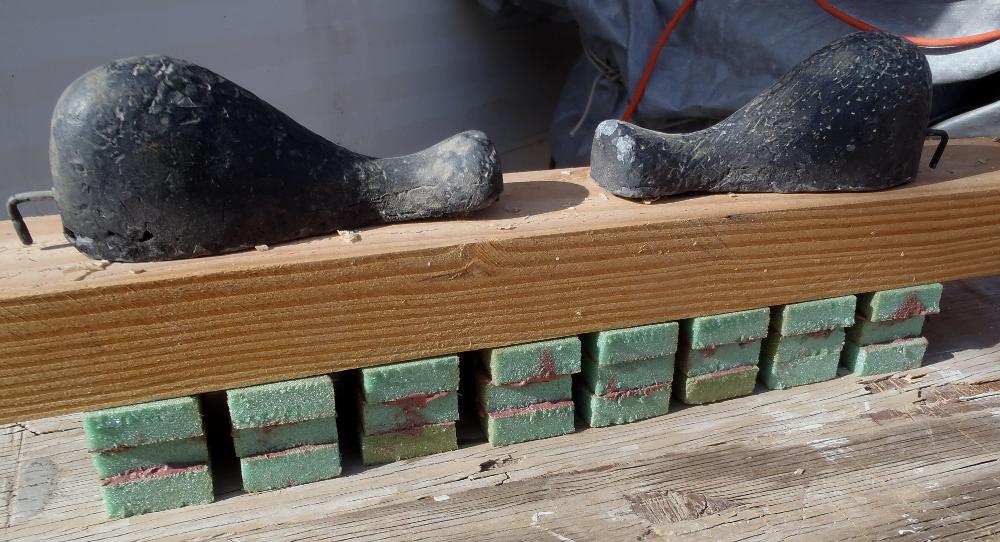
squoosh them to come out even - and
minimize weight, of course! |
 |
|
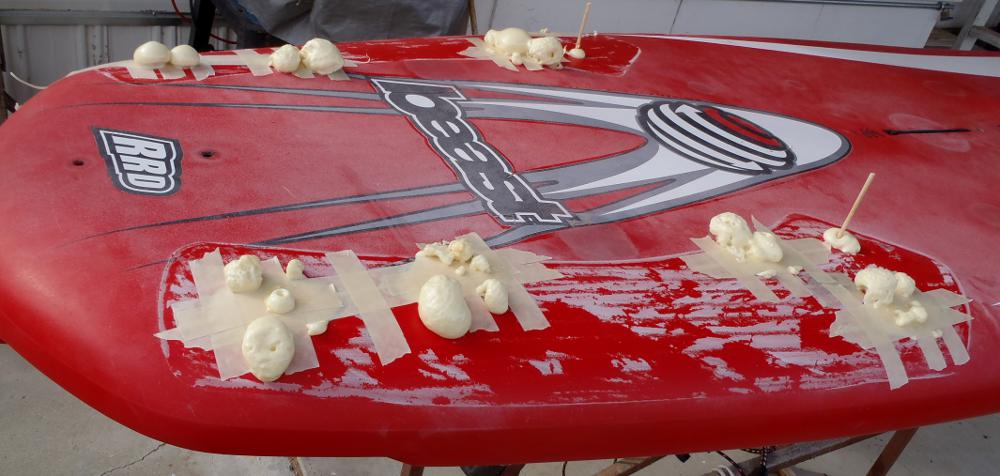
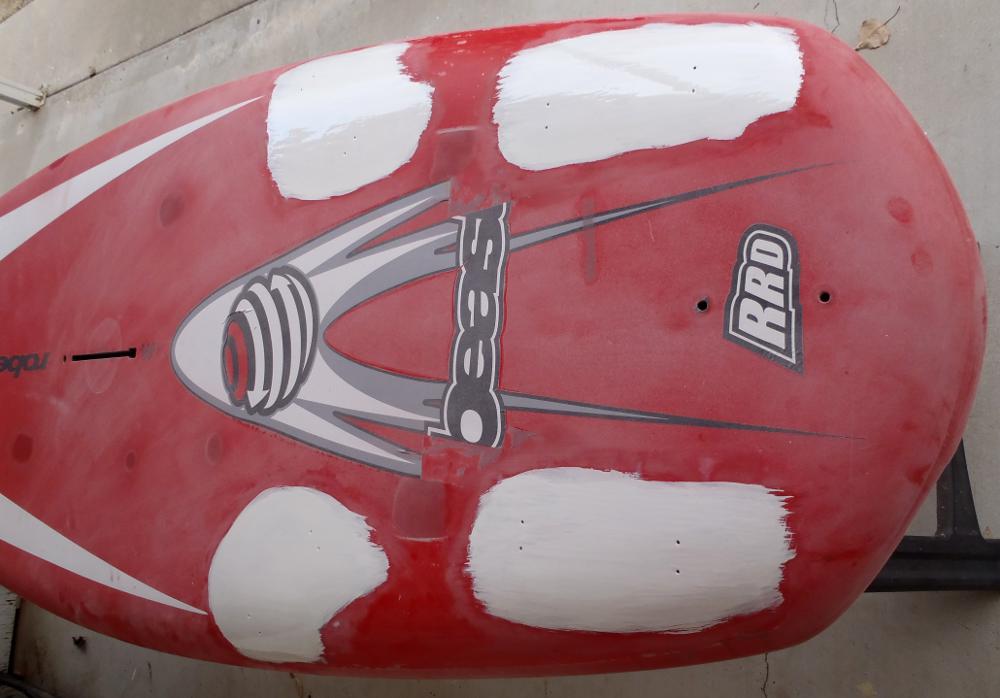
in the meantime, foam all soft spots
and cavities with 2-part Marine Urethane foam |
 |
|
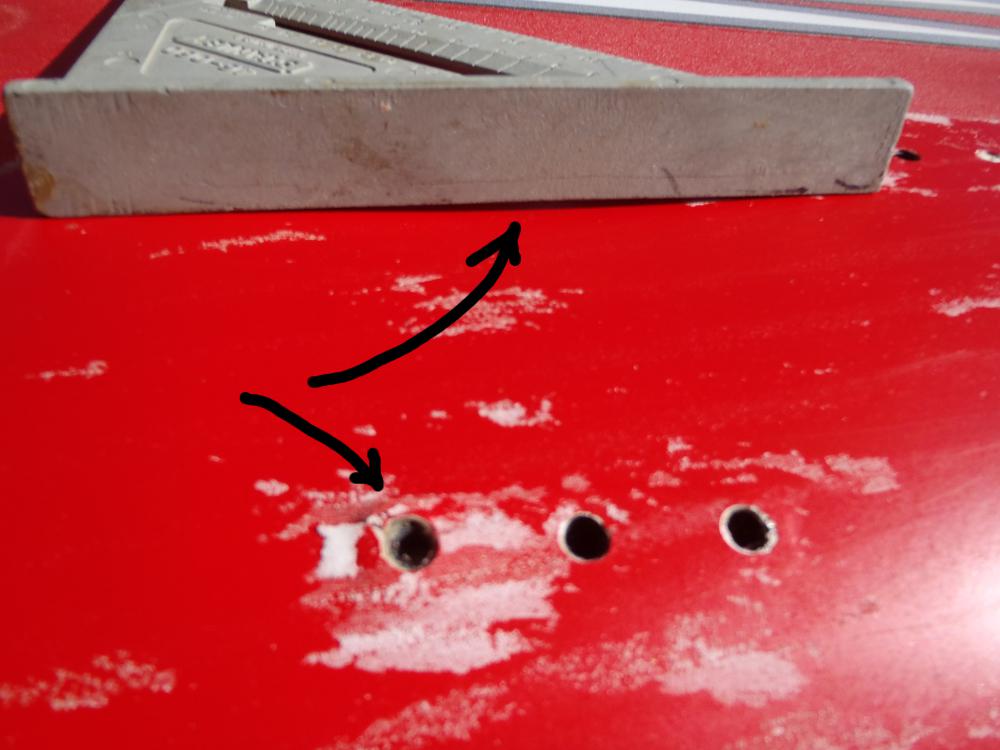
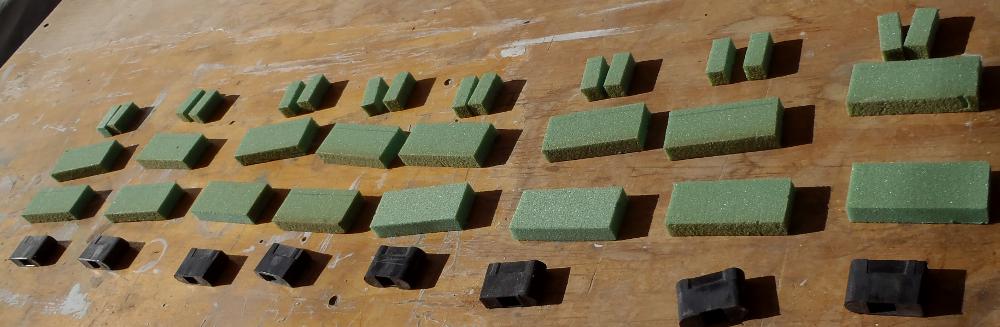
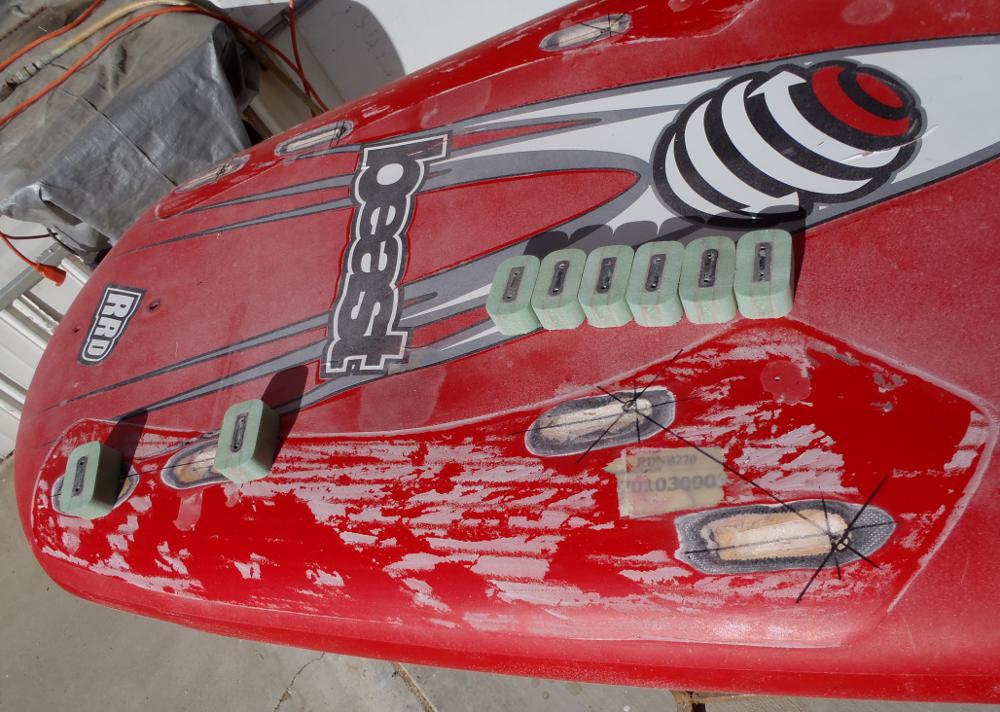
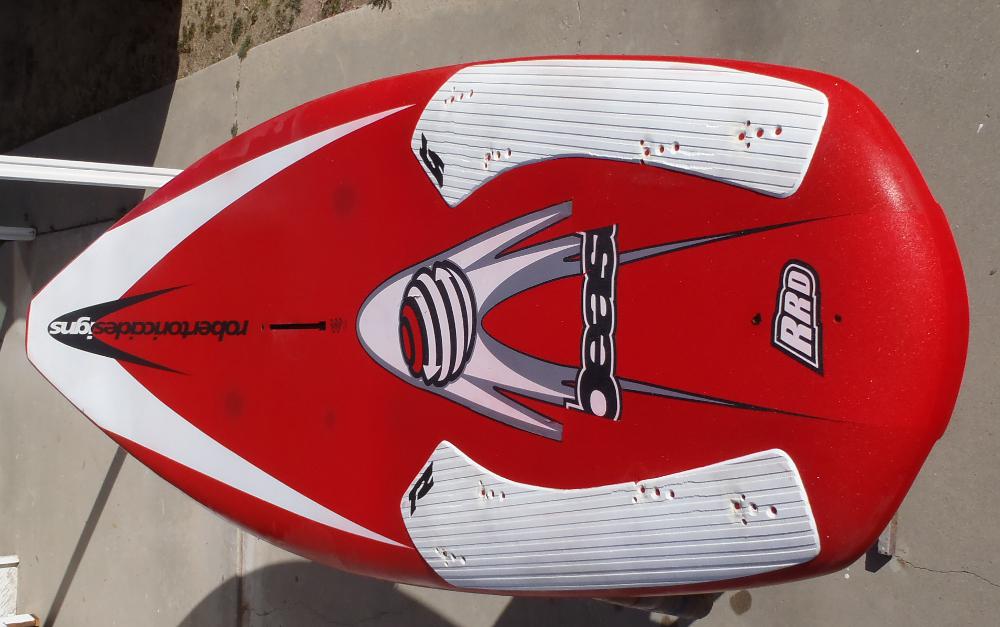
laying out the new insert locations -
we'll increase the spacing to 6 5/8" between screw holes from the original,
minimal 6 1/8", and use double-inserts across, to prevent twist, and
since the owner never used anything but the forward-most locations, anyhow.
New inserts are squared and had their vertical corners rounded on a bench
sander |
|
 |
|
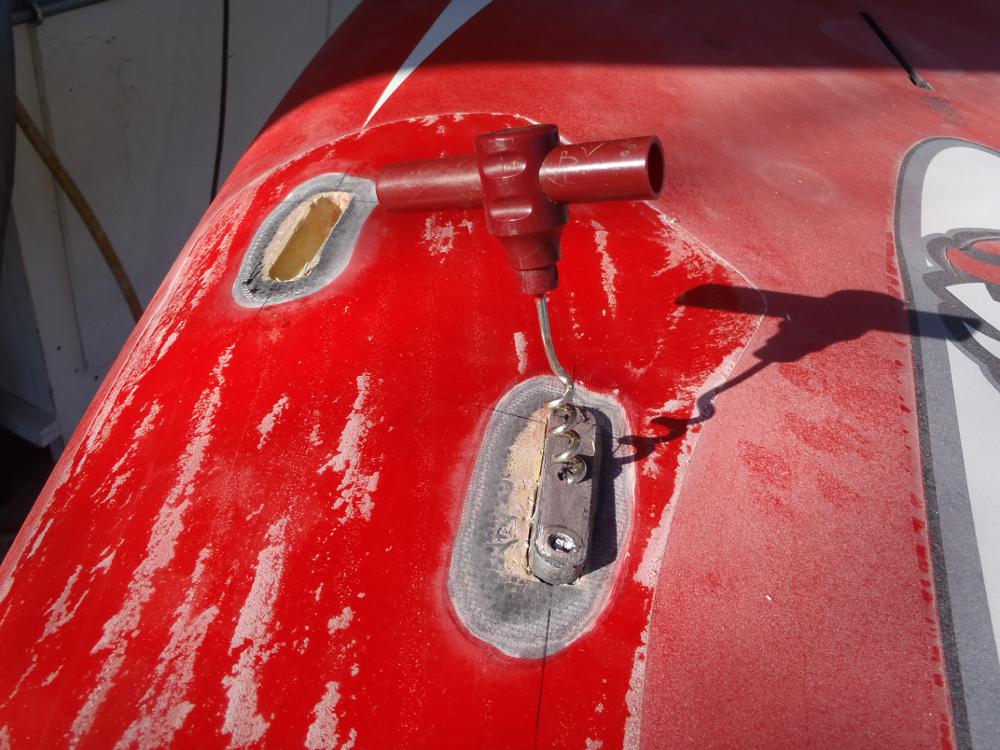
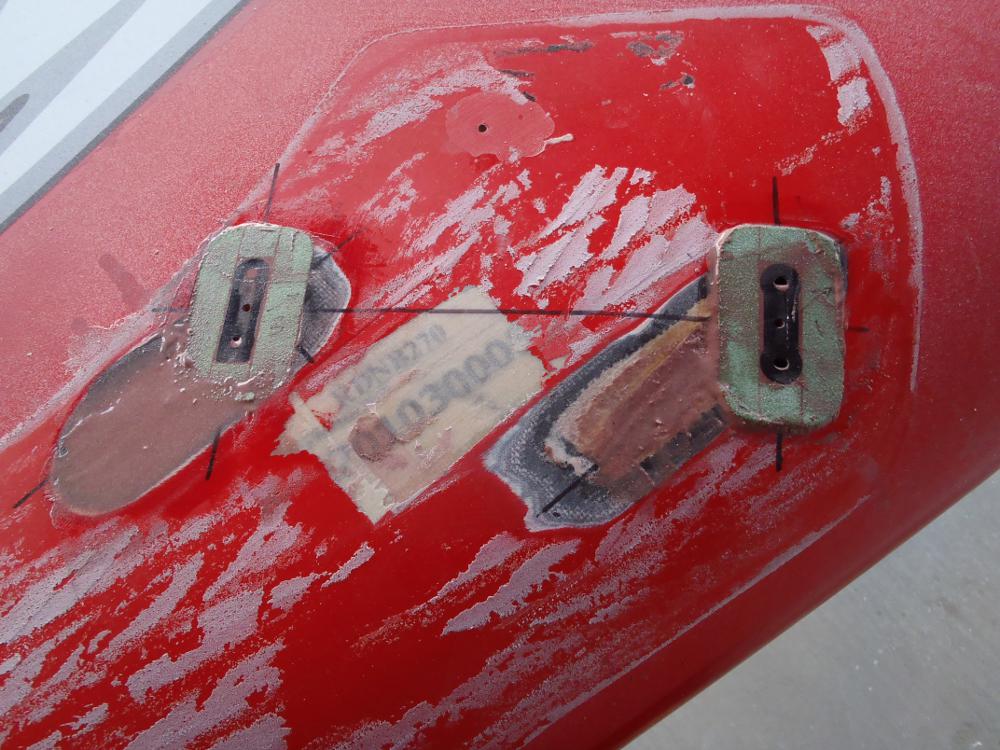
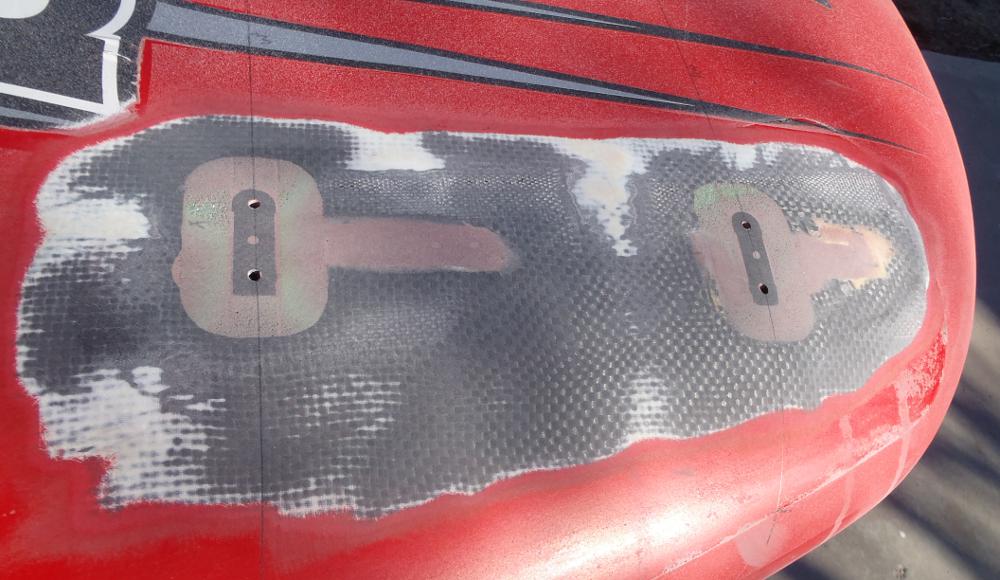
fitting the new inserts - note how
cavities from original inserts are filled with Urethane foam |
 |
|
potted in SLOW Epoxy/Q-Cell/Microballon-paste |
 |
|
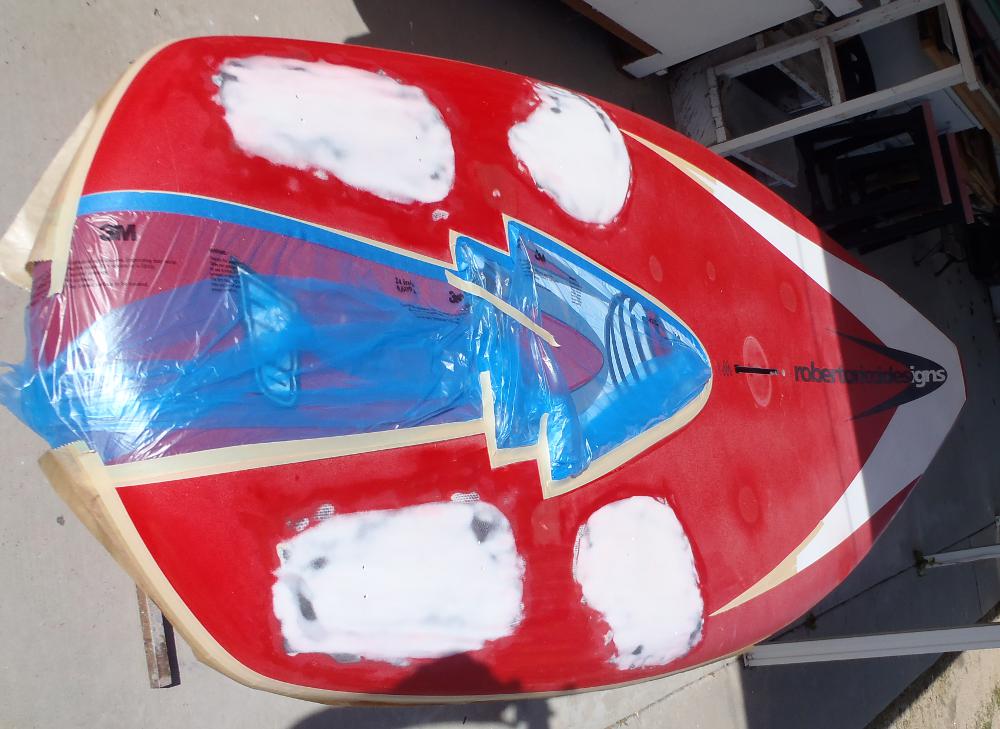
sanded and filled and ready for
Carbon/glass laminations - I even remembered to mark the screw holes - bitch
to find those once they are covered with Carbon! |
 |
|
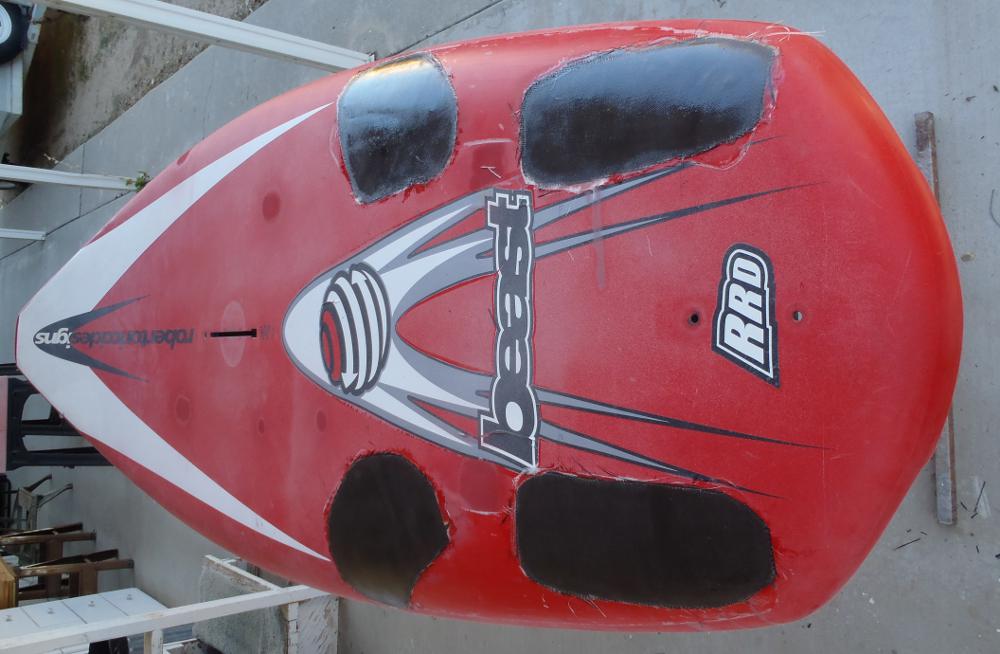
2x4oz cloth plus 1x4.7oz Carbon cloth - hell for stout! |
 |
|
new reinforcements feathered out, pilot holes drilled
into new inserts |
 |
|
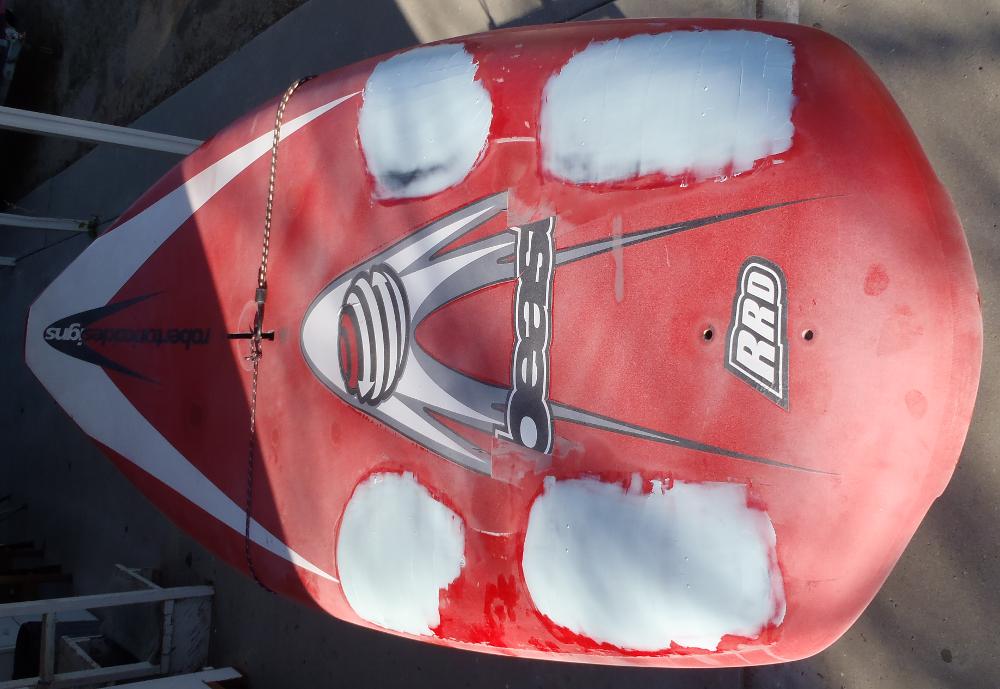
VC fairing compound slathered on |
 |
|
and most of it taken off again |
 |
|
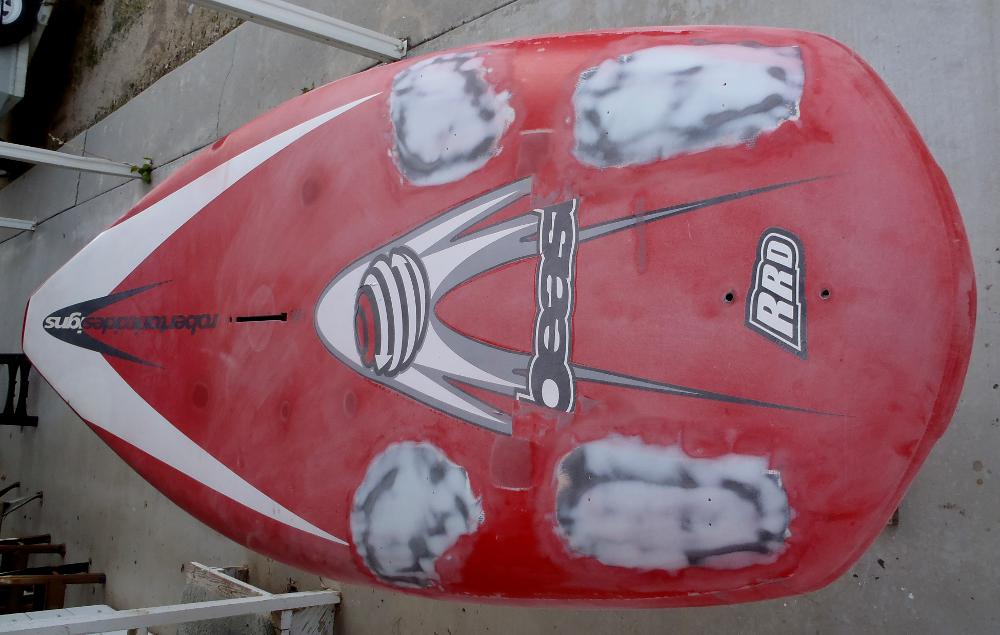
primed |
 |
|
ready for paint |
 |
|
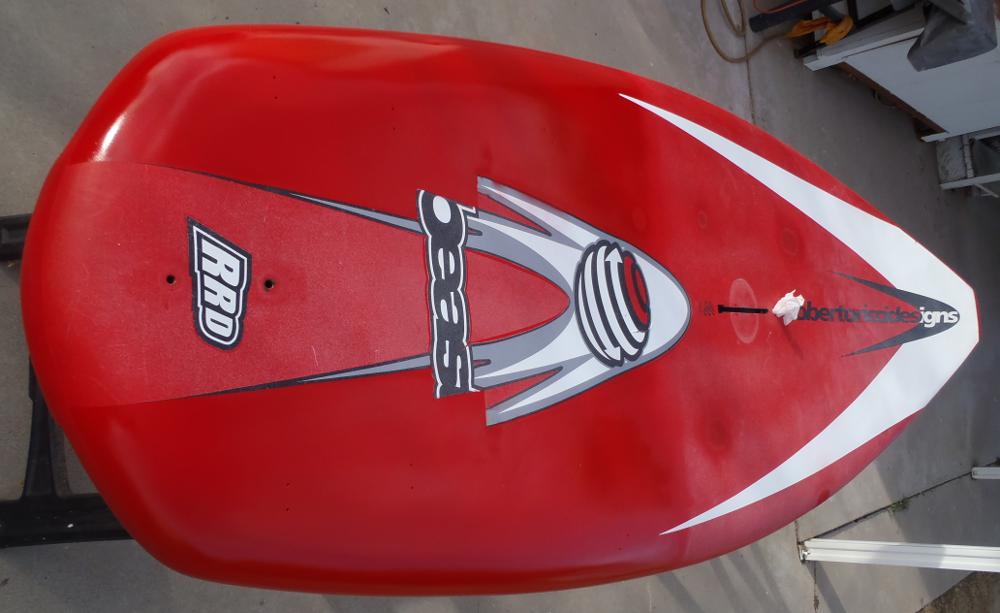
RED!! |
 |
|
all back together and freshly washed and ready to go! |
|
Return to assorted repairs |